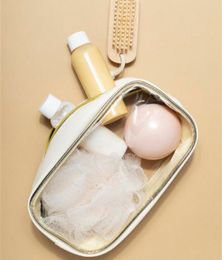
 Travel
 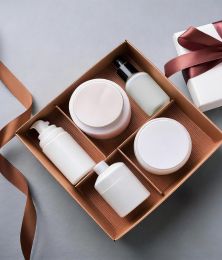 Gift
Gift 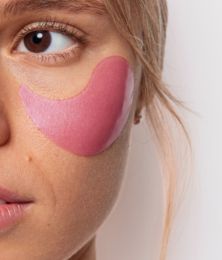 Beauty Corner
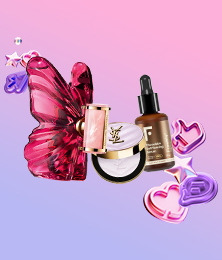 Viral
Viral 


OUR UNIVERSES
Enjoy and explore the themed experiences created for those who are looking for something more

MERMADE cutie waver #lilac by MERMADE.
Introducing Mermaid waves like you've never seen them before. Our NEW Cutie Waver forms perfect 22mm waves without leaving harsh lines.
Our triple barrel design with advanced ceramics means you don't need to compromise time to get the trendy mermade waves.
Benefits:
Leave it as is for a fun shape and volume, or brush it out for the most relaxed and chic beachy waves. Available in a playful lilac colour, the 22mm crimper will make the sweetest addition to your Mermade collection.
Step 1. Before using the iron, hair must be clean, dry and tangle-free. Place the iron on its stand on a flat, smooth, heat-resistant surface, and plug it in. Press and hold the ON/OFF button until the appliance turns on and the ""ON"" indicator lights up. Adjust the temperature with the left and right buttons until you reach the desired heat. For the healthiest styling, we recommend using a temperature of 180°C/360°F, unless you have very thick hair.
Step 2. The key to long-lasting, lush waves is preparing your hair correctly. It injects a thermal protector that protects the hair from heat and gives it extra hold.
Step 3. Start by sectioning your hair with our Grip Clips. Smaller sections will create more defined waves. Take one section at a time, starting at the top near the roots and pinning the hair, making sure the hair is positioned evenly within the barrels. Be careful not to touch the scalp with the tool. Hold for 2-5 seconds. Hold for less time if hair is easy to curl or if you want less defined waves. Once you have released the first clamp, re-clamp the top barrel of the curler at the last fold of the wave. You should overlap each wave with the curling iron to create a continuous wave from the roots to the ends. Repeat this process to the ends throughout the head.
Step 4. Once you're done waving, make sure the hair has completely cooled before touching it to give it time to set. For an effortless beachy wave, brush out the wave with our Mermade brush or comb. To finish, spray on a little more Mermaid Mist for hold and shine, or a flexible spray or hairspray for more hold.
Step 5. To turn off, press and hold the power button until "OFF" appears. For your safety, the tool will automatically shut down after 60 minutes. Allow to cool completely before storing. Be sure to clean the tool after use to avoid product buildup on it.
 Personalised
 Beauty corner
 Universe
 Your essentials
 Special
 SUNGLASSES


 Commitment to


